

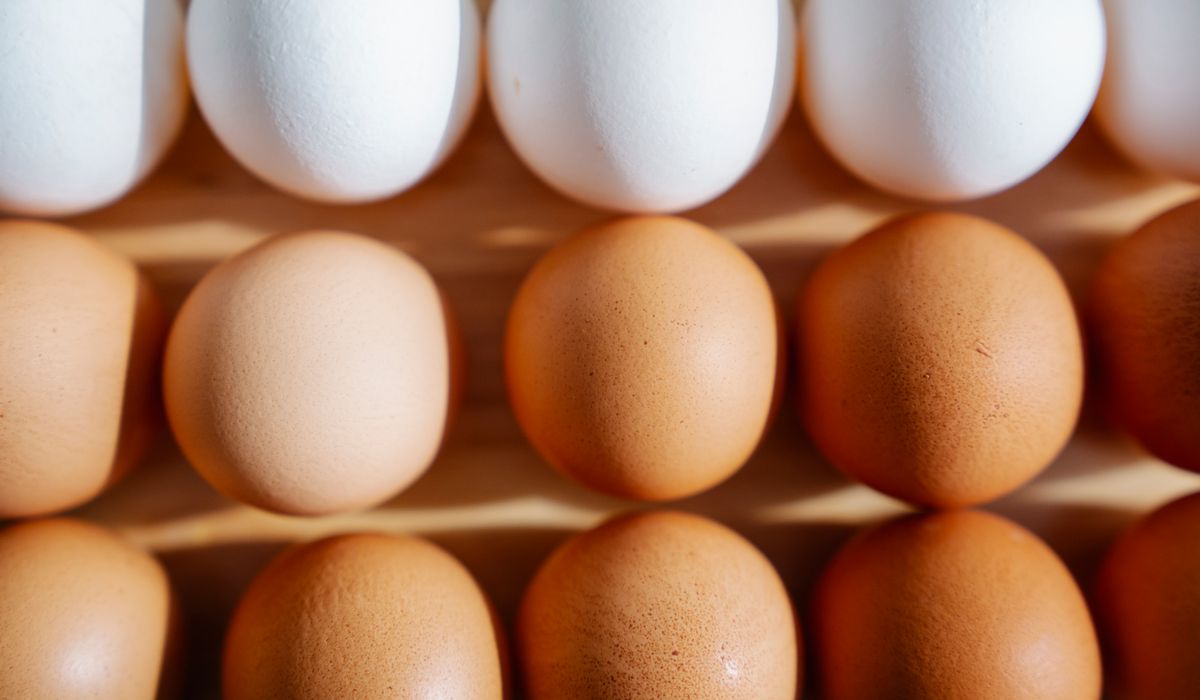
Start with good eggs and a reliable incubator
Every successful hatch begins weeks before the incubator is switched on. Fertile eggs should come from healthy, well-fed birds, and ideally be set within seven to ten days of being laid. Store them somewhere cool and steady — around 15–18°C is ideal, so a garage or unheated utility room works well, but avoid the fridge. Keep them pointed end down in a carton and tilt it from side to side once a day so the yolk doesn't settle against the shell.
Never wash hatching eggs. The natural bloom on the shell is a barrier against bacteria, and scrubbing it off does far more harm than a little honest muck. Set aside any eggs that are cracked, badly soiled, misshapen or unusually large — those are eating eggs, not hatching eggs.
As for equipment, the choice is between a still-air incubator, where warm air rises naturally, and a forced-air model with a small fan that circulates heat evenly. Forced air is far easier for beginners. Whatever you buy, add a separate thermometer and hygrometer. Built-in gauges are notoriously optimistic, and a cheap calibrated pair will save you a great deal of heartache.
Setting the right temperature and humidity
For a forced-air incubator, aim for 37.5°C (99.5°F) measured at the level of the eggs. Still-air machines run a little warmer at the top, so you're looking for roughly 38–39°C at egg height. Stability matters more than perfection: a brief wobble when you open the lid is fine, but swinging between 36°C and 39°C day after day will cost you chicks.
Humidity is the part beginners most often get wrong. For days one to eighteen, aim for 45–55% relative humidity. The most reliable way to judge it is by weight loss: weigh your eggs before setting, then again on day eighteen. They should have lost around 13% of their starting weight. Too little loss means the air sac is too small and chicks may drown at hatch; too much means they'll be shrink-wrapped and struggle to turn.
Ventilation goes hand in hand with humidity. Open the air vents a little from the start and a touch more after day ten, as the growing embryos need oxygen and produce carbon dioxide.
Turning: little and often
Embryos need turning to stop them sticking to the shell membrane and to help them use the nutrients in the egg. Turn three to five times a day, always an odd number, so that eggs spend alternate nights lying on different sides. If you're out at work, an automatic turner is money well spent.
Mark each egg with a pencil — an X on one side and an O on the other — so you can see at a glance what has been done. Handle gently, and try to work quickly so the incubator doesn't lose too much heat. Hand turning stops on day eighteen, but before that, be consistent. Missed days add up.
Candling: look, learn, then leave alone
Candling is simply shining a bright light through the egg in a darkened room. Do it on day seven and again around day fourteen, and keep each session brief — a minute or two per egg at most.
- Clear and glowing — no development. Likely infertile; remove it.
- Spider-like veins and a dark centre — a healthy embryo. Congratulations.
- A distinct blood ring with no veins — the embryo died early. Remove it before it decays.
- A solid dark mass with little light passing through — usually fine, especially with brown or Marans-type eggs.
Resist the temptation to candle every evening. Each time you open the lid you cool the eggs, and there's nothing to be gained from watching an embryo you can't help.
Lockdown and the hatch itself
Day eighteen is lockdown. Stop turning, raise humidity to 65–75% by filling the water channels, and then do not open the lid until the hatch is finished. This is the hardest part of the whole process and the one most beginners fail — a moment's peek can drop the humidity and leave a chick stuck to its shell.
Chicks normally pip internally first, then break the shell, rest, and finally "zip" their way around. From the first external pip to a free chick can easily take twenty-four hours or more. Leave newly hatched chicks in the incubator to dry and fluff up; they can survive comfortably for up to forty-eight hours without food or water. Only intervene if a chick has been pipped and unprogressing for well over a day, and even then, patience is usually the better answer.
After the hatch and common pitfalls
Move chicks to a brooder once they're dry and active. Start at around 35°C directly under the heat, reducing by roughly 3°C each week, and watch the chicks rather than the thermometer — huddled and cheeping means too cold, spread to the edges means too hot. Offer chick crumb and shallow water with clean pebbles in the dish to stop them drowning.
Most problems trace back to two things. Temperature too high brings early, weak hatches and splayed legs; too low and chicks hatch late and lethargic. Humidity too low leaves them stuck to the shell; too high and they drown in unabsorbed fluid. Keep a simple notebook of temperatures, humidity and hatch dates, and next spring you'll hatch better still.





John Doe
14 January, 2022Having no content in post should have adverse..
Chauffina Carr
10 April, 2022We use these tests all time! Killer stuff!
Jim Séchen
16 July, 2022Thanks for all the comments, everyone!